

Help Center
How can we help you?


General Help Topics

Since PrintKK doesn't offer built-in automatic product personalization, here's a step-by-step process to handle customer customizations manually:
Step 1: Create and Publish a Placeholder Product
First, create a placeholder product in PrintKK and publish it to your store. This product will serve as a stand-in until you receive the customer's custom design.
Step 2: Collect the Customer's Design
Next, come up with a way for the customer to submit their design. This can be done in several ways:
- Marketplaces (e.g., Etsy): Customers can send their designs via messaging on the platform.
- Email: You can ask customers to email their design after placing an order.
For Shopify users, consider using an app like Personalized Image Uploader (USD 9.99/month with a 7-day free trial). This app allows customers to upload their design before completing the order. Note that you'll still need to manually update the order in PrintKK to include the design.
Step 3: Recreate the Product with the Customer's Design
Once the customer submits their design, follow these steps:
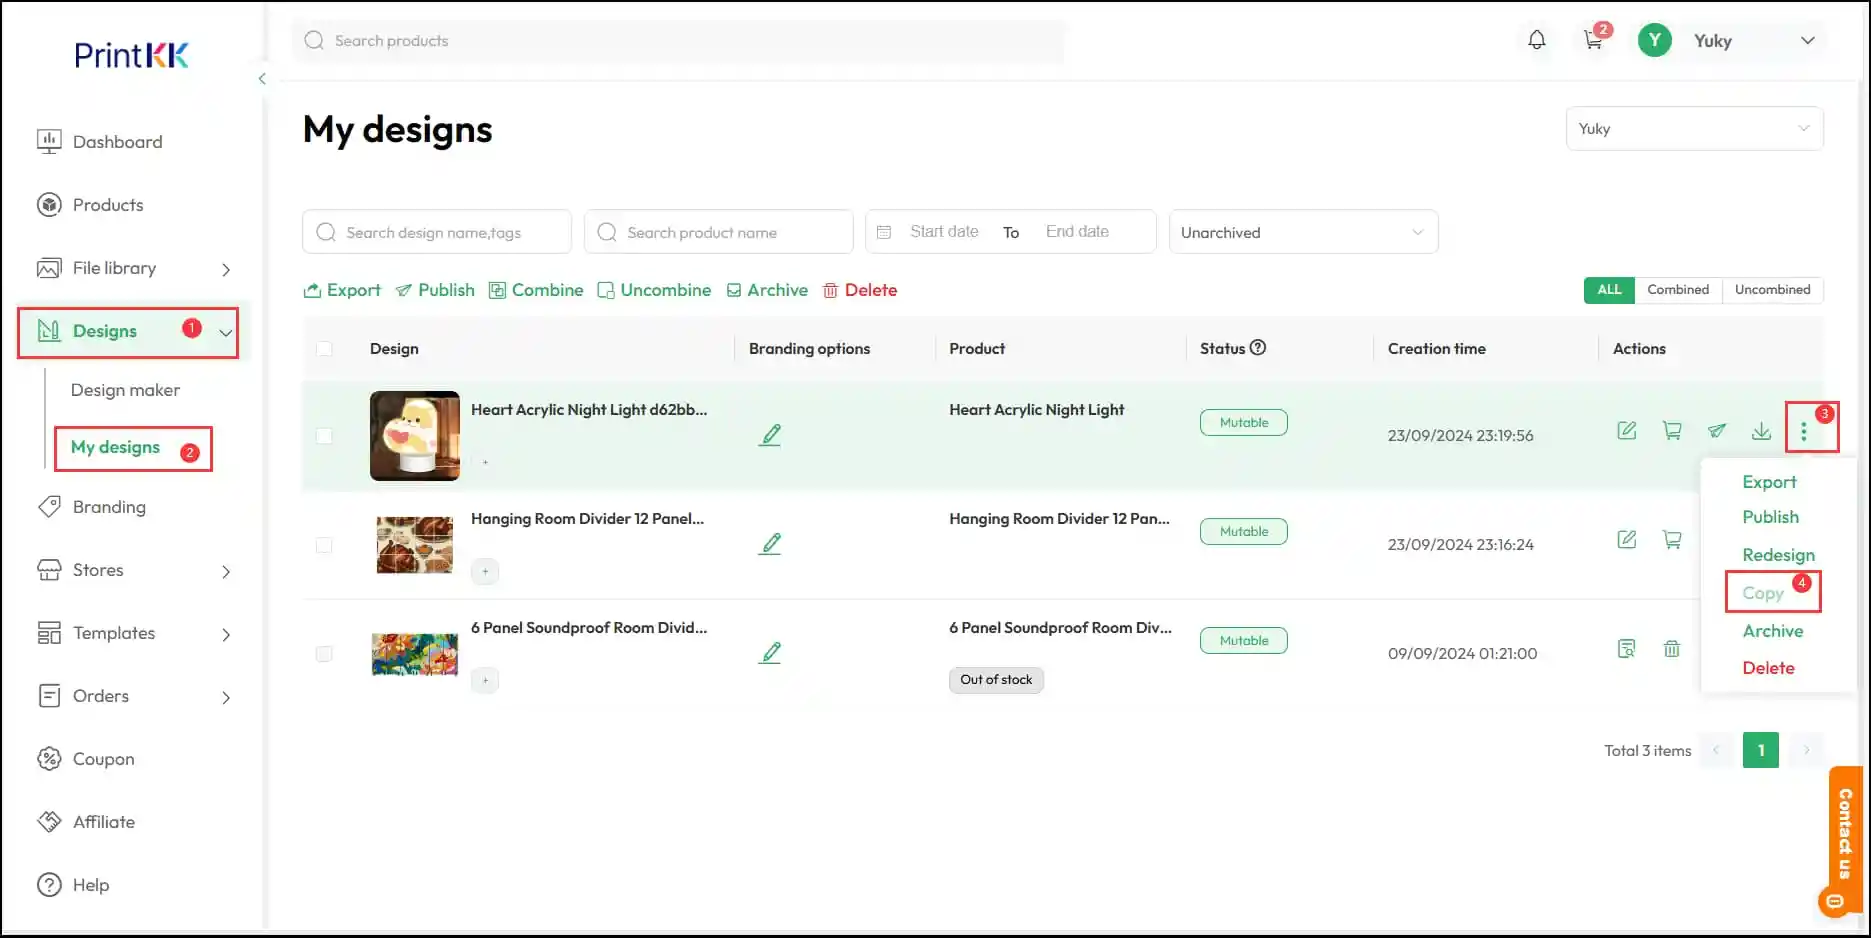
- Go to **Dashboard → Design → My Designs** in PrintKK.
- Find the placeholder product, copy it, and recreate the product using the customer's design.
Step 4:
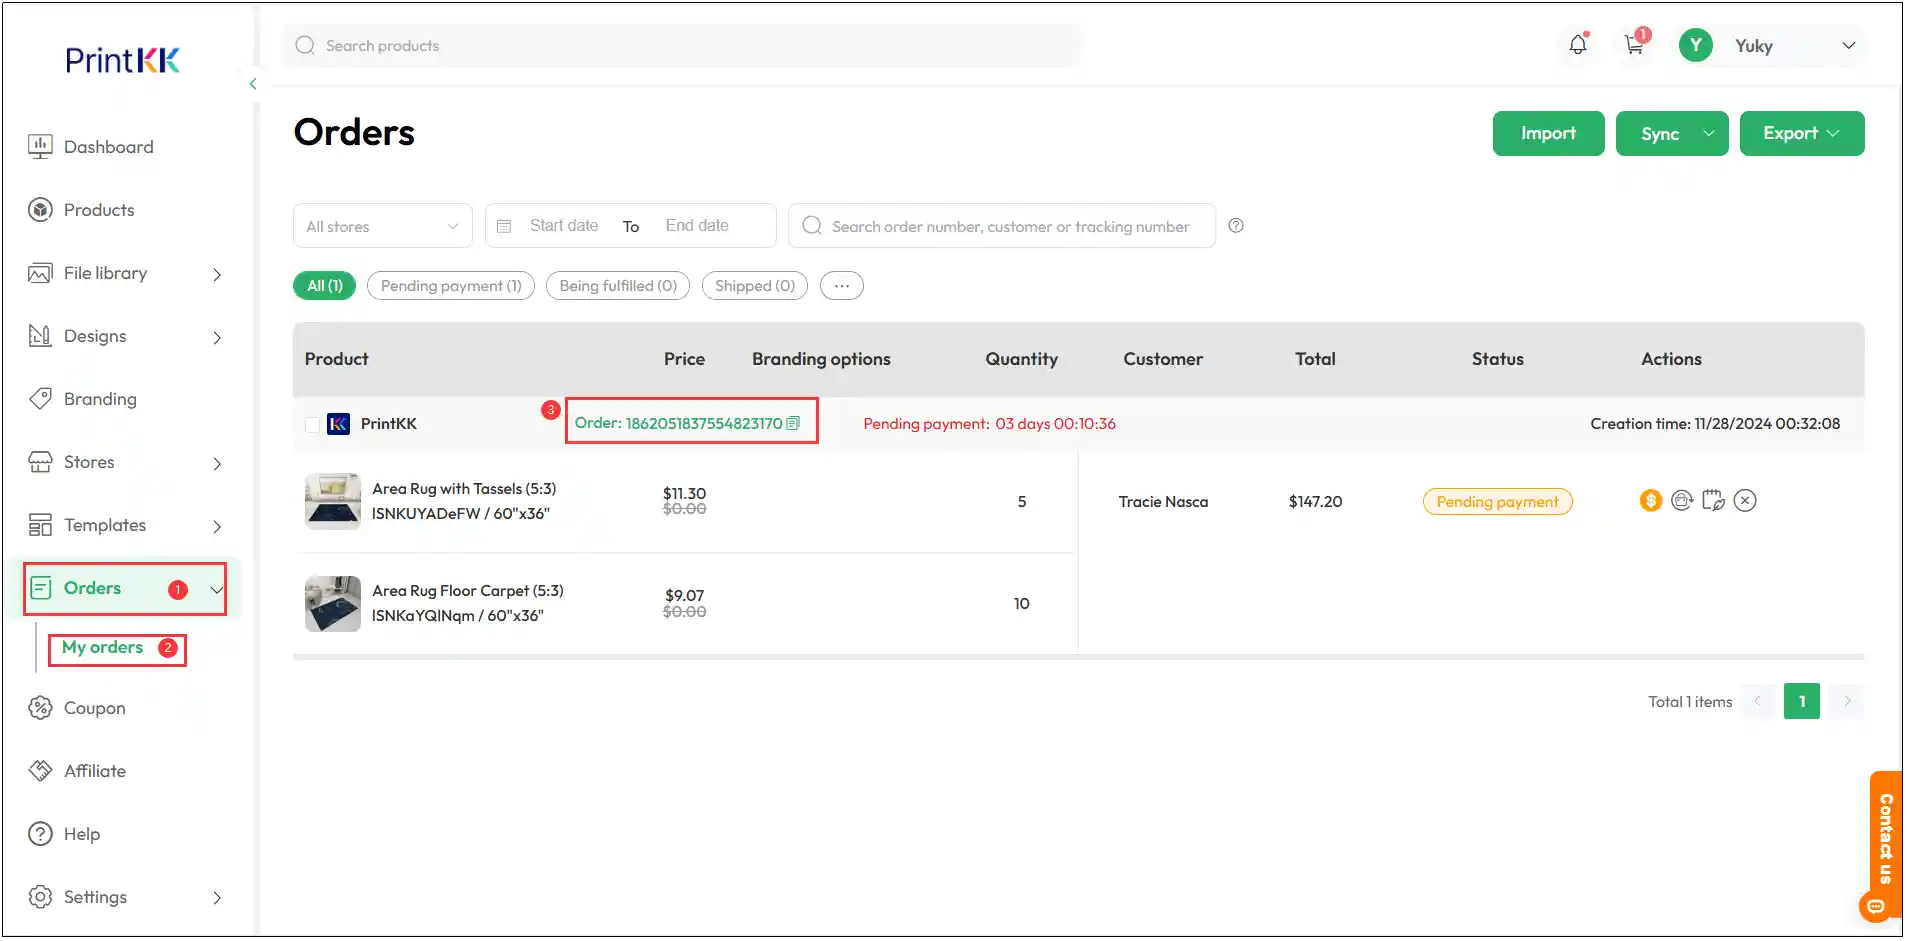
Find the corresponding pending payment order:
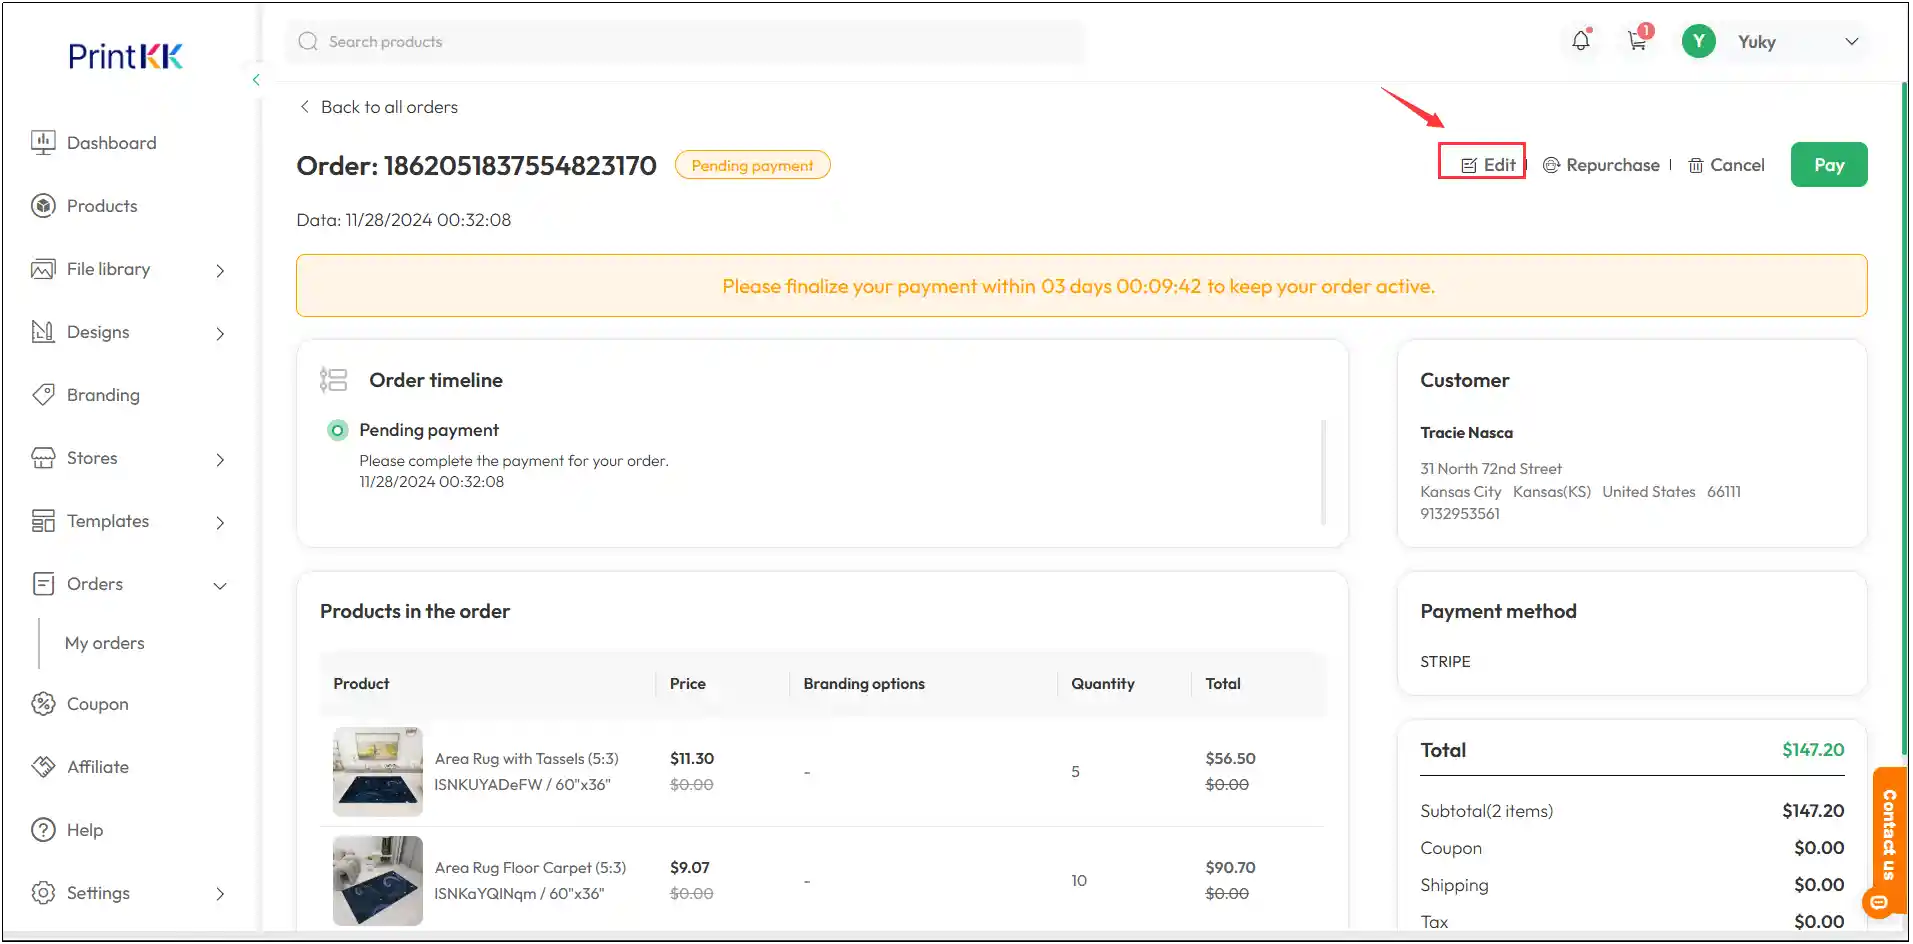
- Go to "Orders" - "My Orders" and locate the order. Click the order number to enter the order details page.
- Click "Edit" to enter the editing page, where you can change the brand, quantity, and products.
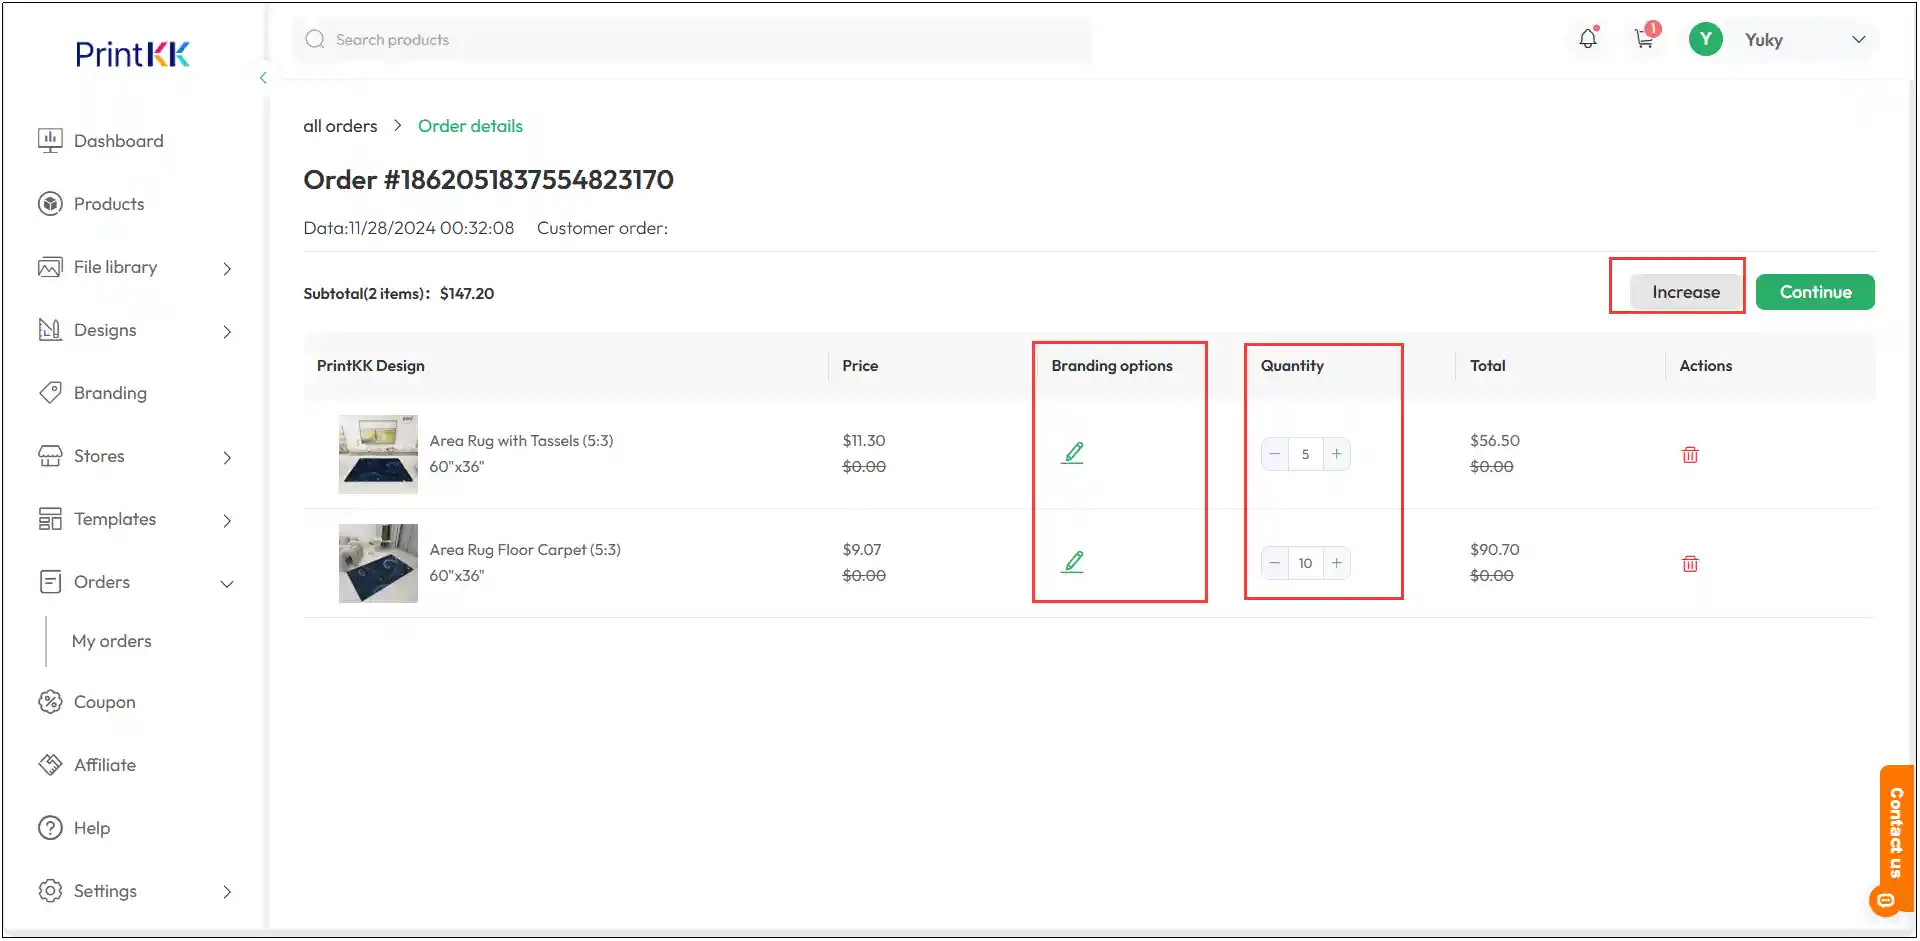
Step 5: Complete the Order
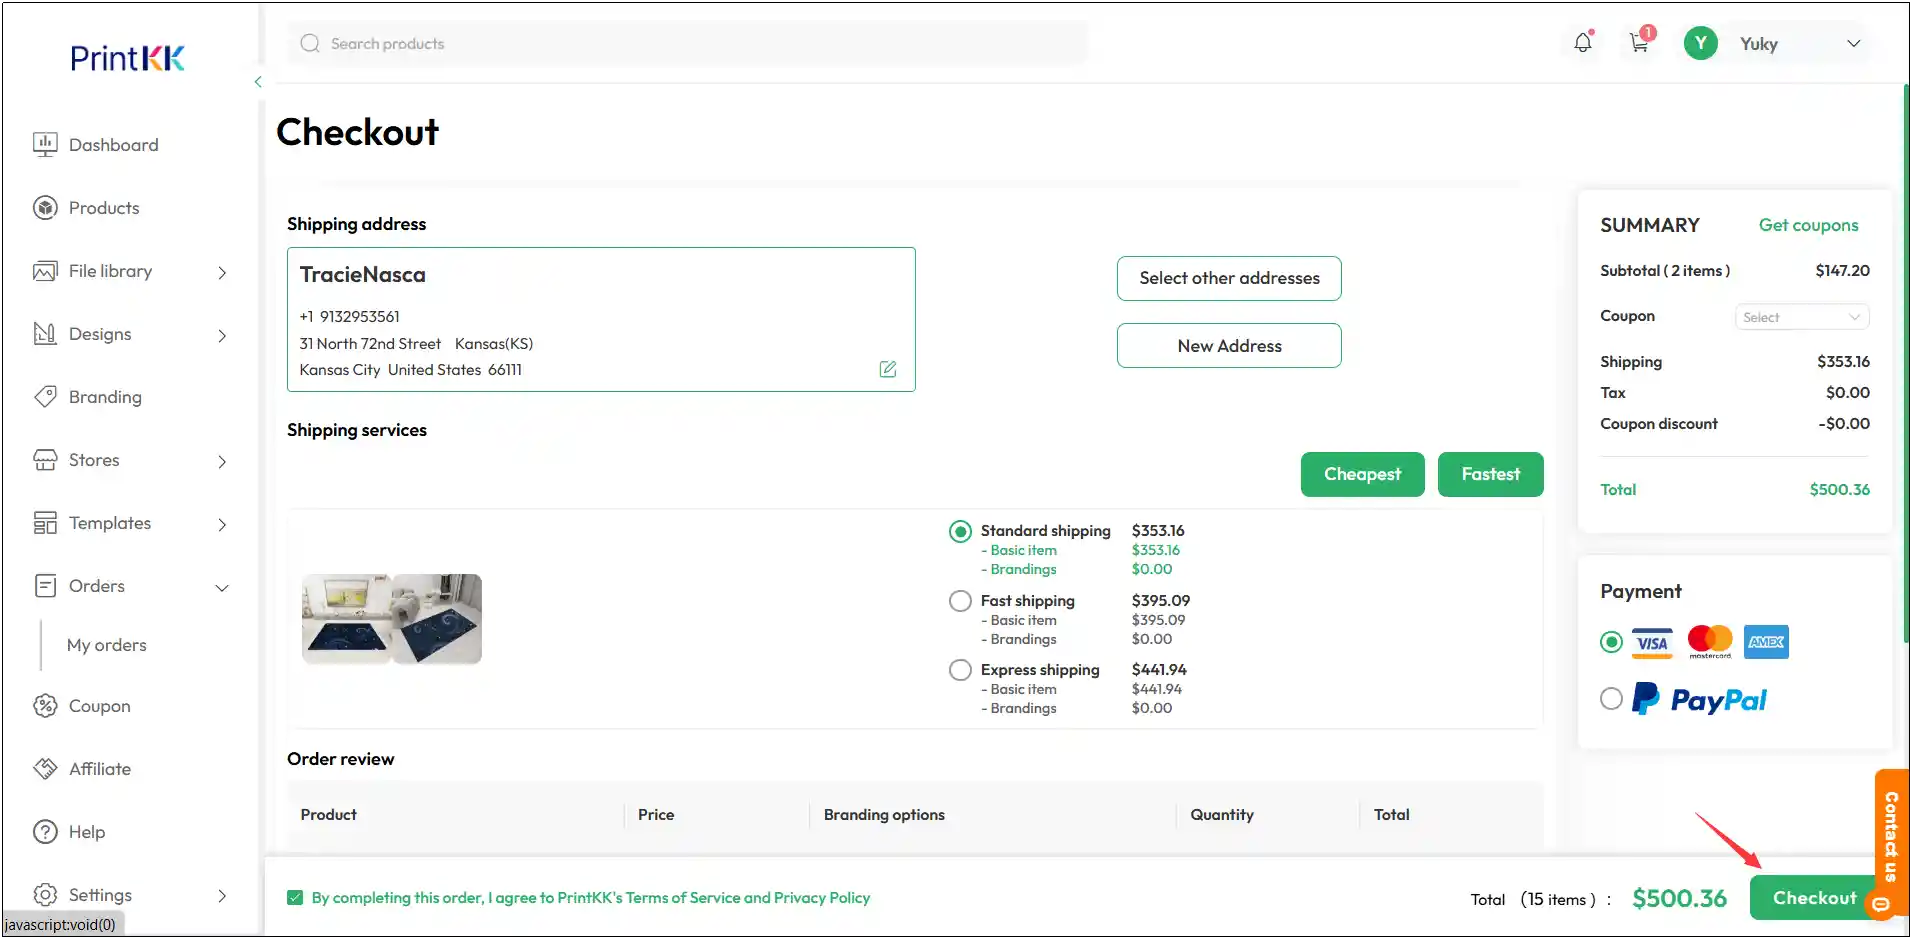
Finally, proceed to check out the order. This will send the customized product into production.