Printing on mugs is a fun, creative way to bring your designs to life and make personalized gifts or products that stand out.
Given that the global drinkware market, valued at USD 34.7 billion in 2023, is expected to continue growing in the coming years, there's never been a better time to tap into this booming industry.
Whether you're looking to improve your skills or start a mug printing business, this step-by-step guide will help you master the process. From choosing the right materials to perfecting your prints, we'll walk you through everything you need to know.
So, if you're ready to create stunning mugs that leave a lasting impression, let's dive in and get started. Trust me, it's easier than you think!
Understanding Mug Printing Methods
When it comes to mug printing, there are several methods to choose from, each offering unique benefits and considerations. Whether you're looking for vibrant, long-lasting designs or simple, affordable options, understanding these techniques will help you make the best choice for your project.
Sublimation Printing
The process of sublimation printing is highly regarded for its capacity to generate vivid and intricate designs that boast longevity. In this method, the combination of heat and pressure ensures images are not just applied, but actually become an integral part of the surface of a mug through the sublimation print.
Executing this technique entails devising an artwork, then employing a specialized printer to output it onto specific paper designed for sublimation. Following this step, one employs a device known as a mug press to transfer these images securely onto mugs.
Screen Printing
Screen printing is a method where ink is applied to the surface of the mug through a silkscreen. It works well on both flat and circular items, making it a versatile technique for mug printing. This method is especially useful for bulk printing and offers durability in the final design.
Pad Printing
Pad printing is perfect for transferring ink onto irregularly shaped items, like mugs, using a flexible silicone pad. This technique ensures even ink distribution across uneven surfaces, making it a great choice for mugs with complex or curved surfaces.
Vinyl Decals or Stickers
Stickers or vinyl decals provide a cost-effective and simple method to embellish mugs with various designs. Despite this, their resilience is limited. They are prone to peeling away and fading when exposed to the dishwasher's environment, as they are not dishwasher safe.
Hand Painting with Ceramic or Glass Paints
The technique of hand painting affords absolute creative liberty, leading to the creation of unique, singular mugs. Although this process opens up distinctive artistic possibilities, it might come with constraints in terms of longevity when juxtaposed with alternative methods for adorning mugs.

Essential Tools and Materials for Sublimation Printing
To achieve high-quality outcomes in sublimation mug printing, it's crucial to use a specific set of tools and materials designed for the task. Having the right equipment is imperative for superior results.
The following are vital components necessary for executing this process effectively.
Sublimation Printer
The Epson EcoTank 7750 is a popular choice as a sublimation printer. It can be loaded with sublimation ink to produce prints that are both vibrant in color and detailed with precision. This printer is well-suited for creating high-quality, long-lasting designs on mugs and other items.
Sublimation Paper
Instead of using standard copy paper, one should utilize sublimation paper to transfer designs onto mugs with precision and efficiency. This type of paper is coated and textured to ensure that prints achieve a glossy finish when used for sublimation purposes.
Sublimation Ink
Sublimation ink turns into gas under heat and pressure, transferring the design onto the mug's surface. This ink comes in powdery or liquid forms and attaches permanently to the surface when heated.
Heat Tape
To ensure correct attachment and avoid any blurring or misplacement of the design, heat-resistant tape is used to hold the sublimation paper firmly in place on the mug during the heating process.
Mug Press Machine
A mug press ensures the uniform application of heat and pressure necessary to transfer designs onto mugs, allowing for efficient mass production of printed mugs.
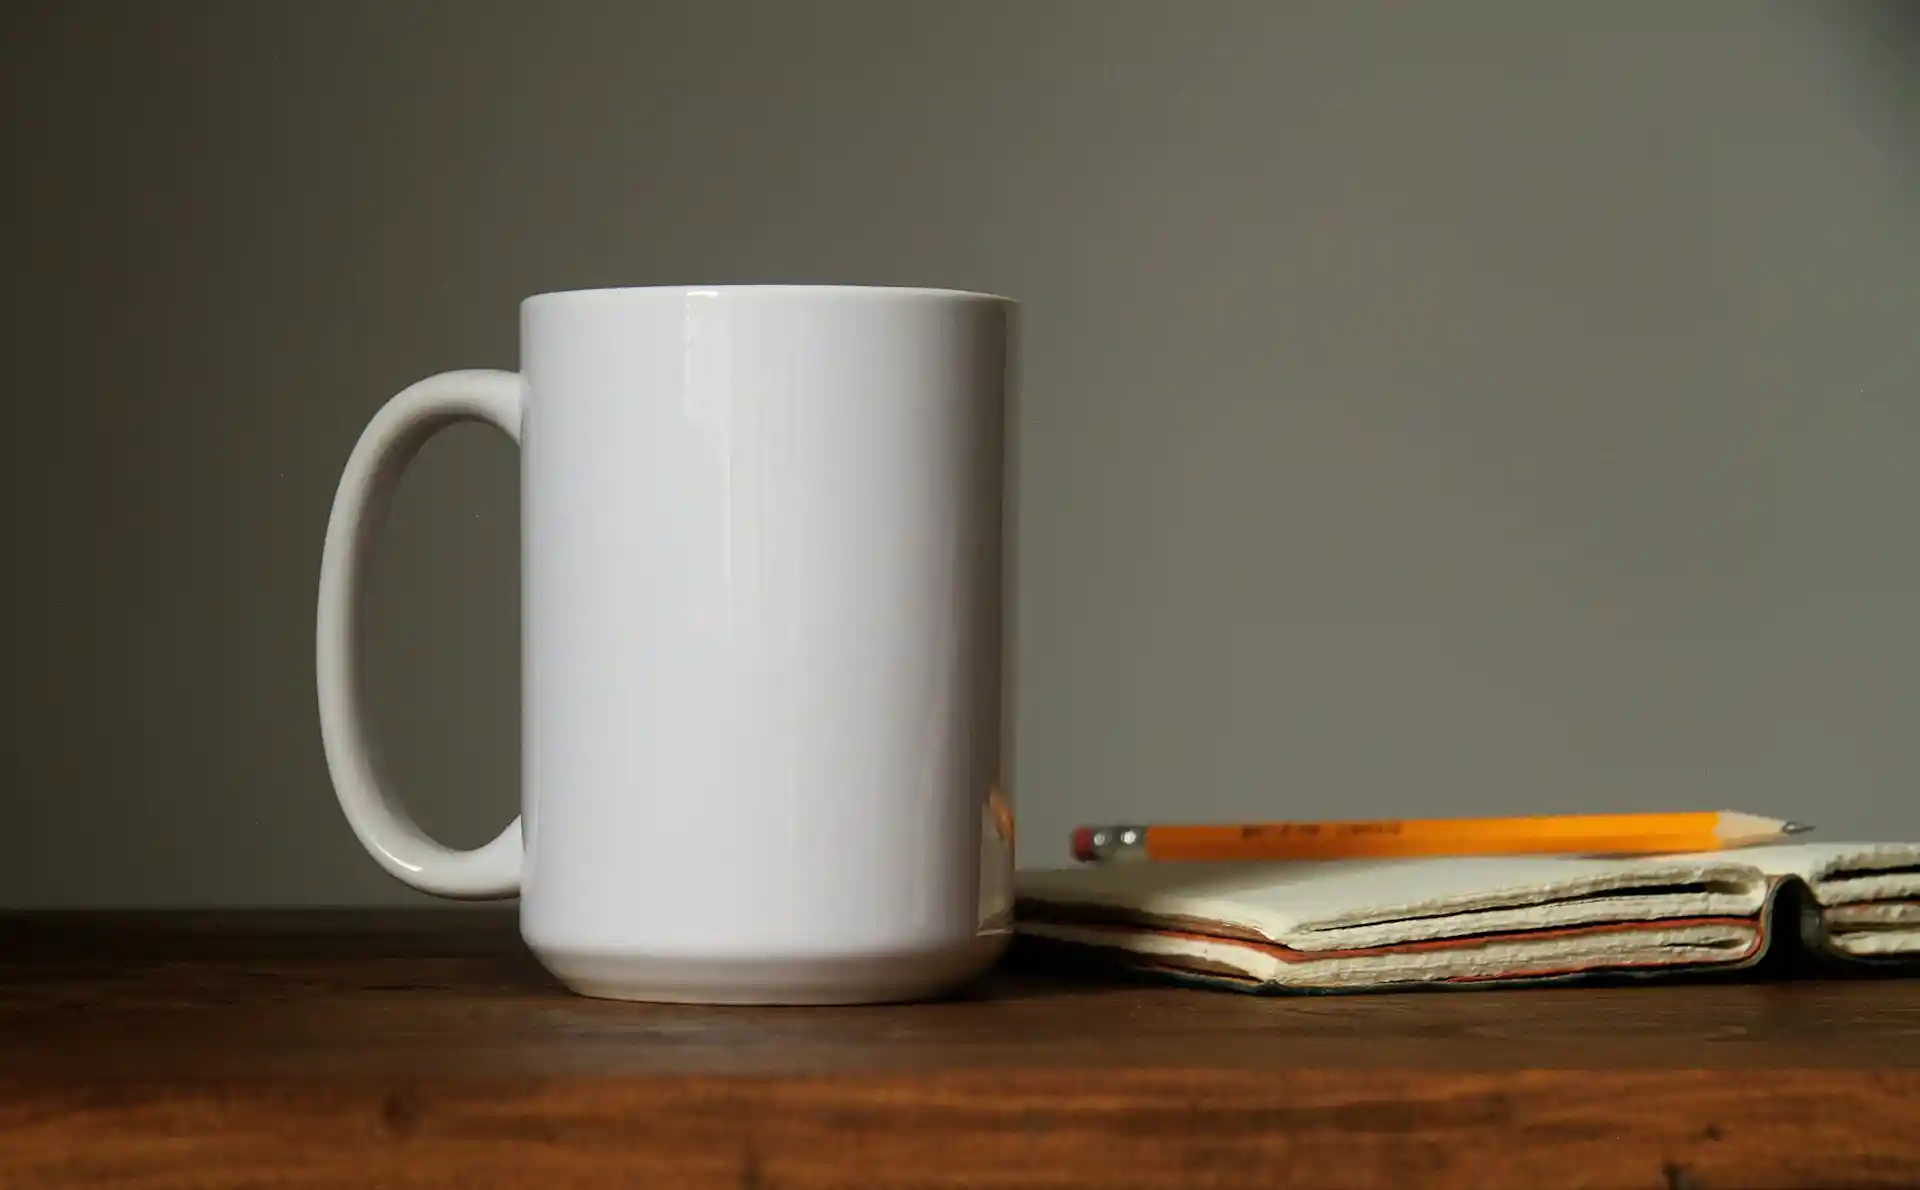
Blank Mugs
Mugs coated specifically for sublimation are necessary to effectively transfer images because they interact with the dye from the sublimation process. These mugs are best at taking in the ink, ensuring that colors appear vibrant and prints remain durable over time.

Step-by-Step Guide to Sublimation Printing on Mugs
With the essential tools and materials covered, here's a step-by-step guide to sublimation printing on mugs. This guide will walk you through the entire process, ensuring you achieve the best results.
Step 1: Designing Your Image
Design your mug by crafting a custom canvas in Photoshop with dimensions of 21.7 cm width and 9.5 cm height, ensuring it will properly adhere to the size of the mugs for an excellent printing outcome.
Before printing, make sure you flip your design horizontally using a keyboard shortcut to mirror it so that it appears correctly on the mug.
Step 2: Printing Your Design
Using a sublimation printer, transfer your design onto sublimation paper. To achieve vibrant colors and sharp details in the print, select the ‘photo semi-gloss' setting on the Epson printer for optimal quality.
Step 3: Preparing the Mug
Clean the blank mug thoroughly to remove any dust or residue. After printing, trim the sublimation paper to fit the mug design using a paper cutter.
Position the trimmed design accurately on the mug.
Step 4: Applying Heat and Pressure
Secure the sublimation paper around the mug using heat-resistant tape. Proceed to use a mug press, applying heat at a temperature of 180 degrees Celsius for approximately 180 seconds.
Adhering to these specified time and temperature guidelines ensures that prints remain sharp and clear, avoiding any blurring or ghosting phenomena.
Step 5: Finalizing the Print
Once the heat transfer process is complete, take off the tape and carefully peel away the transfer paper from your mug. Allow the mug to cool down which will halt any Chemical reactions ensuring that the image has been effectively transferred.
If you want to quicken the cooling of your mug, consider utilizing cold packs or placing it in a refrigerator.
Why Does Sublimation Ink Emit a Fishy Smell and How to Handle It?
If you've ever used sublimation printing, you might have noticed an odd odor during the process. Many describe it as a “fishy smell with a hint of rubber.” So, why does this happen, and more importantly, how can you deal with it?
The Cause: Heat and Ink Interaction
The smell comes from the heat interacting with sublimation ink. As the ink heats up during the pressing process, it turns into gas and bonds with the surface of the mug. This release of gases can sometimes produce that distinct odor. It's not something to worry about—it's just a natural part of the sublimation process!
How to Handle It
Ventilate Your Space: The best way to handle this is simple—ensure good ventilation. Open a window or use a fan to keep the air circulating.
Use Quality Ink and Equipment: Some inks and presses may emit stronger odors than others. Investing in high-quality ink and a reliable mug press can help reduce the intensity of the smell.
Work in Small Batches: If you're printing in large quantities, take regular breaks or work in smaller batches. This gives the air time to clear out between runs.
Is the Smell Dangerous?
No need to panic! While the smell may be unpleasant, it's not harmful. Just keep your workspace well-ventilated, and you'll be good to go!
So, the next time you notice that “fishy” scent, remember—it's just part of the magic of sublimation printing! Keep calm and print on.
How to Fix Blurring at the Bottom of Mugs
Blurring often occurs when the mug is not properly aligned in the mug press or when the pressure isn't distributed evenly. The design at the bottom may not get enough heat or pressure, leading to that annoying blurry spot.
How to Fix It
One simple fix is to preheat your mug before placing it in the press. This helps to evenly distribute the heat and can prevent the design from bleeding at the bottom. You can preheat the mug for about 2-3 minutes, ensuring the surface is warm and ready for the transfer.
Modifying the amount of pressure applied when printing is crucial as well. Opting for a medium level of pressure rather than a lighter one can aid in thwarting blurring, thus bettering the final result. Just be careful not to overdo it and risk damaging the mug or the press.
Try Different Mugs
If the issue persists, it might also be a problem with your mugs. Some suppliers' mugs might have a different coating or shape that doesn't respond well to the heat, causing inconsistencies in the print. If you've tried everything and the blurring is still there, it could be worth testing mugs from another supplier.
With a little tweaking, you'll be printing sharp, clear designs every time! Keep experimenting, and soon, that blurry bottom will be a thing of the past.
Too Much Process? PrintKK Makes It Easy with Quality and After-Sales
Starting your print-on-demand journey can feel overwhelming. The long process, from choosing the right mug to getting the print just right, can sometimes make you hesitate. But don't worry! PrintKK is here to simplify everything for you.
Streamlined Process, Quality Mugs
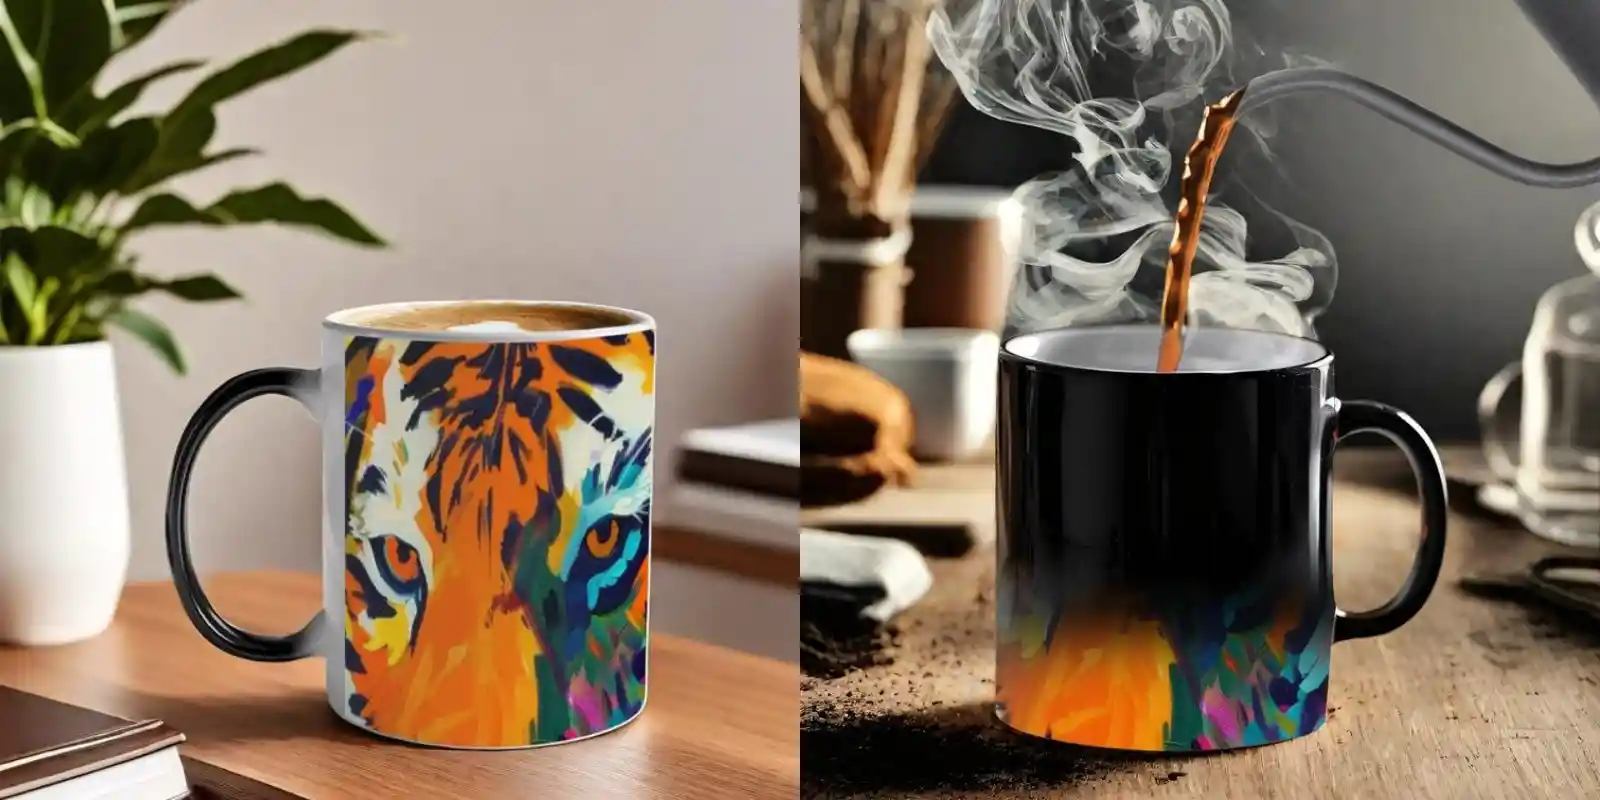
At PrintKK, we focus on making things easy. Whether you're a beginner or an experienced designer, you'll find our system simple to navigate. Choose from a wide range of high-quality mugs, including ceramic mugs, travel mugs, and even color-changing ones. With just a few clicks, you can upload your design and get started – no complex steps involved!

Custom Color Changing Coffee Mug (Free Shipping & Made in USA) - PrintKK
Affordable and Varied Choices
Worried about pricing? PrintKK offers competitive rates without compromising on quality. We have a variety of mugs, including personalized mugs, to match every need. Whether it's for a corporate giveaway, a custom gift, or your latest design collection, we've got you covered. You won't have to break the bank, but you'll still deliver quality products to your customers.
Top-Notch Customer Service
On top of our easy process and great prices, PrintKK offers excellent customer support. Our team is always ready to help with any questions or concerns. You'll never feel alone in the process – whether it's tracking an order or troubleshooting a design issue, we're just a message away.
Say goodbye to the hassle of complex setups and frustrating delays. With PrintKK, printing on mugs has never been this easy or enjoyable!
Read More:
Expert Tips
Printing on mugs is a rewarding and creative process, and with the right techniques, you can create stunning designs. Be sure to follow the printing guidelines to get the best results. Remember, it's normal for sublimation ink to emit a fishy smell when heated—this is just part of the process. If you're experiencing blurring at the bottom of your mugs, try preheating your mugs and adjusting the pressure to ensure an even transfer.
For a hassle-free experience and a wide variety of mugs to choose from, please choose PrintKK. With our diverse selection, you'll have everything you need to create beautiful, high-quality mugs every time. Happy printing!
FAQs
How to print a photo on a mug at home?
Printing a photo on a mug at home is easy with sublimation printing. You'll need a sublimation printer, transfer paper, and a heat press. Simply print your design, align it on the mug, and press it for vibrant, long-lasting results.
How much does it cost to print a mug?
Costs vary, but typically it's around $3-$8 per mug for small runs. Larger orders bring the price down—so the more you print, the cheaper it gets!
Which method is best for mug printing?
It depends on your needs! For bright, durable designs, sublimation is top-notch. For mass production, screen printing is a solid choice, while pad printing is perfect for mugs with unique shapes.
How to print on the bottom of a mug?
To print on the bottom of a mug, use a specialized mug press that accommodates the shape and curvature. Make sure the design is positioned correctly and apply even pressure to ensure the print transfers cleanly.


 Global Shipping


 Made in USA


